
F3F TIMER PROJECT by Jon Edison
Updated Mar 2019
MK III Further Developments
<Back
Additional Interface Developments
When the Android solution was first looked at, the IOIO ( yo-yo ) board was an obvious choice. It was designed to work seamlessly with the Android OS, required no programming, and no involvement from the user, other than to solder a few wires to it. As good as the IOIO board is, and appears to work with all Androids, we have no control over its design, specification or price. It was felt prudent to investigate other forms of communication devices, and evaluate their potential. Below are some experiments with alternatives.
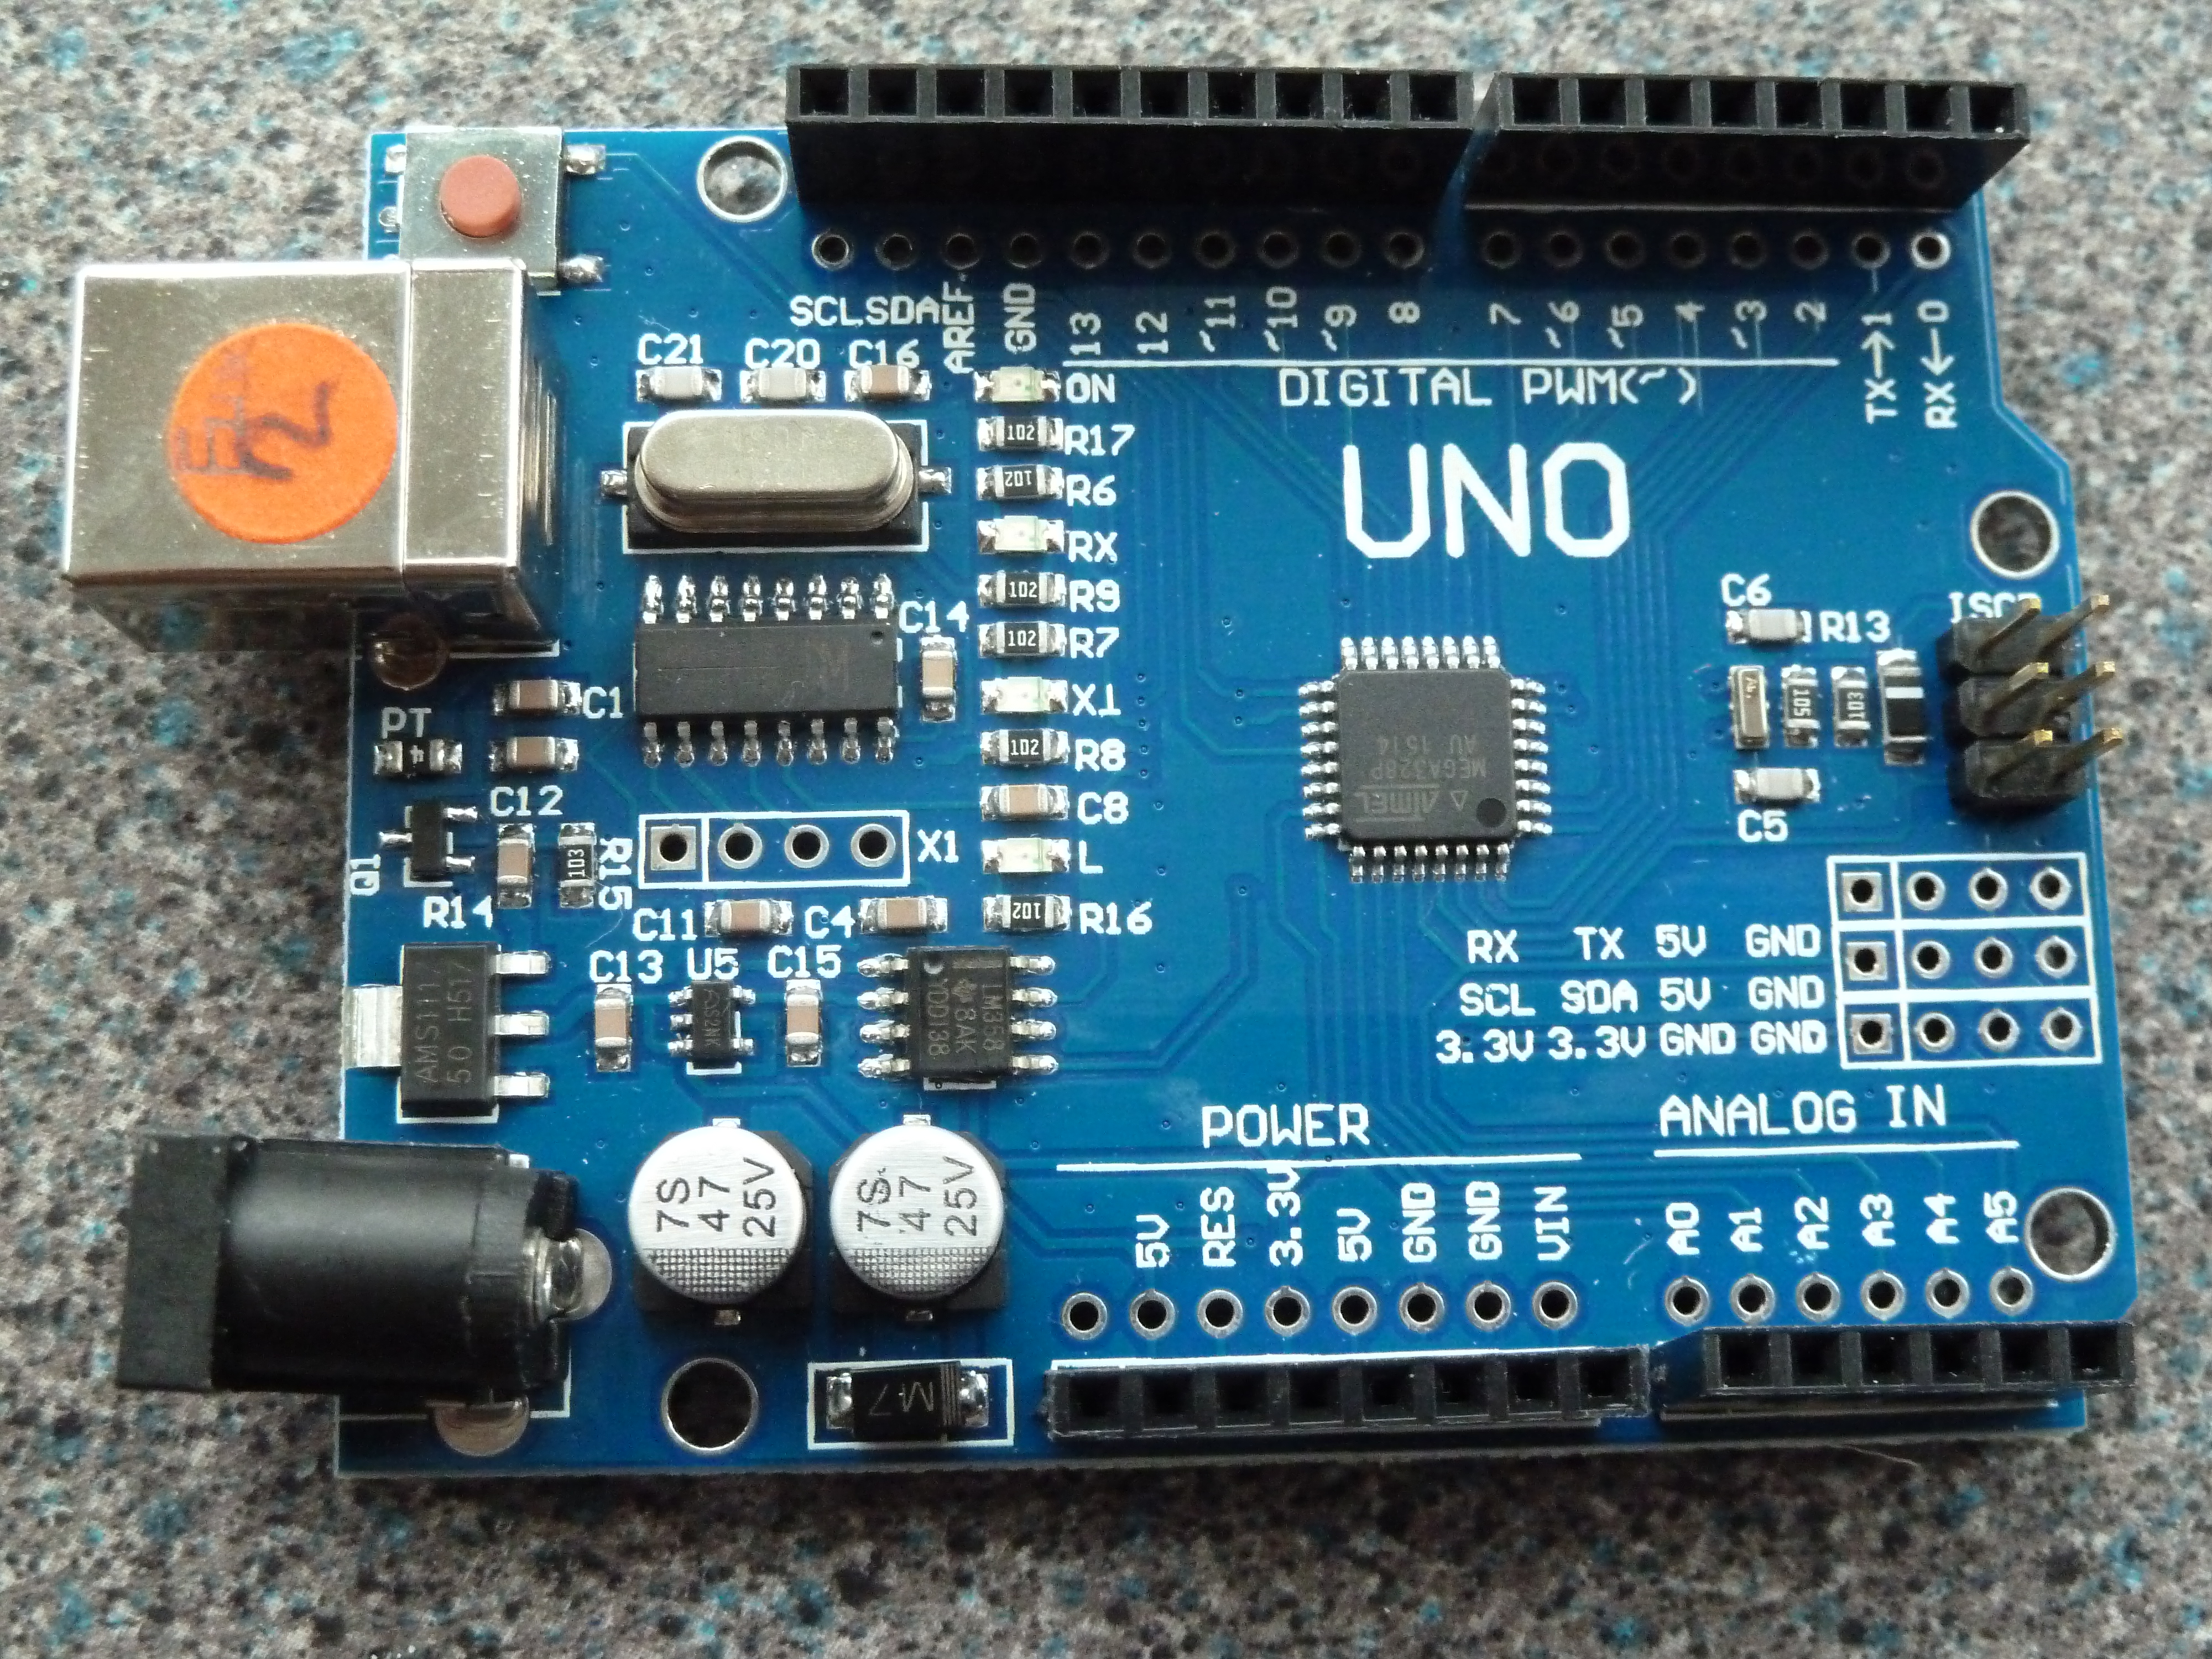
Arduino Uno Interface
These devices are readily available from a number of sources and come in two basic forms. One is the Genuine Uno from approved Arduino sources and the other is the Chinese clones. The difference between the two, apart from the price, is with the onboard IC which does the USB communications. The genuine UNO's use the FT232 chip, whilst the Chinese clones use the CH340 chip. Fortunately, both chips are supported by the Android operation system, and drivers have been incorporated both into the software. When using the Arduino, it must be connected as an OTG ( 'On the Go' ) device using a special OTG USB cable. Used in this way, the Android powers the Arduino, so charging of the Android must be done via a separate connection. Link Here to Charging methods.
Components Required :-
Arduino UNO - Ebay
Arduino IDE Software ( available here )
Arduino Sketch Software ( available here )
CH340/341 Software ( available here )
USB adaptor, USB V2.0 Male type B to Female type A - Ebay
If you are familiar with Arduino's then you will know how to set up the IDE environment on your PC, and upload the Sketch to the UNO. Otherwise reference should be made to the many web sites covering the Arduino operation.
Once you have the software uploaded onto your Arduino, disconnect it from the USB cable, and add additional connections as shown below for connection to the Timer PCB
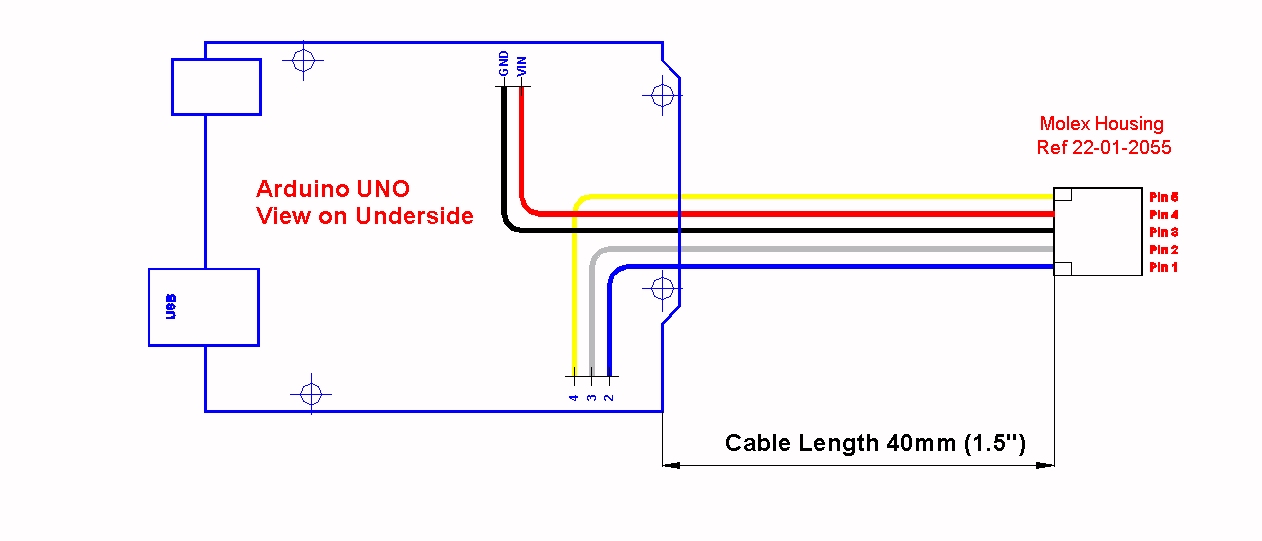
Breadboard connectors, can be used for these connections on temporary basis. A more permanent solution is to solder the cables in place, and terminate with a Molex connector. The Molex 5way Connector details can be found on the parts list as the mating part to SKT2 . Note the Chinese UNO's have an additional row of holes for soldering wires to, making them more convenient for this type of connection.
Once connected to the Timer, the Arduino gets its power supply from either the Android or the Timer. Plug the Andriod into the Arduino USB socket using an OTG USB cable.
Goto Race Manager, set up a race, and then enter the menu ( top right of the Screen -3 vertical dots ). Select 'Settings', and from the options select 'Input Source'.
Select 'USB other'.
Exit the menu, and if all is well your Android will recognise the USB connection and connect to the Timer ( the Red Dot on the screen just below the Menu vertical dots will turn Green ).
Power for the Android must be supplied through a separate connection. If your Android conforms to the Qi wireless charging specification, then you can charge wirelessly. Link Here to Charging methods
Alternatively, some but not many Androids have a separate charging socket.
| Make | Model | Screen | Android Version | IOIO | Arduino | Bluetooth | Qi |
|---|---|---|---|---|---|---|---|
Samsung |
Galaxy a6 |
7inch |
5.1.1 |
Yes |
Yes* |
Yes |
No |
Alcatel |
P330X |
7inch |
4.3.0 |
No 1 |
Yes* |
Yes |
No |
Excelvan |
QT10 |
10.1inch |
4.4.2 |
Yes 2 |
No |
Yes |
No |
Asus |
Nexus 7 |
7inch |
6.0.1 |
Yes |
Yes* |
Yes |
Yes |
Samsung |
Galaxy Tab2 |
7inch |
4.2.2 |
Yes |
Not Tested |
Not tested |
No |
Lenovo |
A2107A |
7inch |
4.0.3 |
Yes |
Not Tested |
Not Tested |
No |
Point of View |
P742C |
7inch |
4.4.2 |
Yes |
Yes* |
n/a |
No |
Samsung |
S4 |
5inch |
4.2.2 |
Yes |
Yes* |
Yes |
? |
HTC |
one M9 |
5inch |
5.0.2 |
Yes |
Yes* |
Yes |
? |
* - using an OTG USB cable only
1 - Will not Communicate with the IOIO board via USB
2 - Has Higher current draw than 7inch Units
Disclaimer
I have no connection with any of the companies listed above, but give any links for information only, and for use at your own risk. All information is given in good faith and without liability.
Jon Edison
Updated 31 Jan 2017
Updated 23 Oct 2018 IOIO Board Programming Page added
Updated 16 Mar 2019 Alactel P330X Andriod added
Updated 23 Mar 2019 Samsung Galaxy a6 Android Added